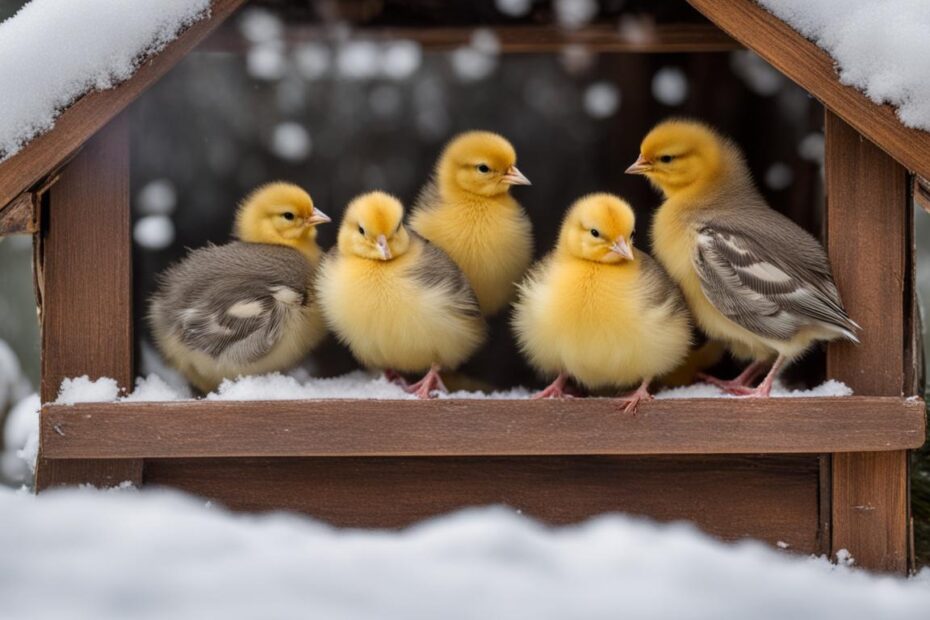
Raising hens from chicks can be a rewarding experience, but knowing when it’s safe to transition them to the outside world in winter can be a challenge. The timing of when chicks can go outside depends on several factors, including their age, feather development, temperature tolerance, and the availability of a safe and enclosed outdoor space. By following best practices and considering these factors, you can ensure that your chicks are ready to venture outdoors in winter.
Key Takeaways:
- Chicks can start going outside once they have developed their adult feathers.
- Gradually decrease the temperature of the brooder to match the ambient temperature.
- Consider factors such as weather, fully enclosed space, and predator protection before taking chicks outside.
- Introduce chicks to outdoor time gradually to build their confidence.
- Ensure chicks have all the necessary elements for permanent outdoor living, including a safe coop and feeders.
When is it Safe for Chicks to Go Outside?
Chicks can start going outside once they have developed their adult feathers, typically around 7 to 14 days old. Factors such as breed, diet, temperature, and care can influence the rate at which chicks grow their adult feathers. To prepare them for life outside, gradually decrease the temperature of the brooder by 5°F each week until the brooder temperature matches the ambient temperature. By the time chicks reach 5 weeks of age, they have entered their “teenage stage,” and by 6-8 weeks of age, they are ready for supervised outdoor excursions.
It’s important to note that the transition from the warmth of the brooder to the outdoors should be gradual to avoid shock or stress to the chicks. Make sure the outdoor temperature is suitable for their age and feather development. Chicks with adult feathers can tolerate temperatures as low as 60°F, but it’s crucial to keep them dry to prevent chilling. Always provide a fully enclosed space outdoors where the chicks can roam safely and protect them from potential predators.
Supervised outdoor time allows chicks to explore their surroundings, experience natural sunlight, and develop their instinctual behaviors. However, it is essential to remember that chicks still need warmth and protection, especially in colder weather. Monitor their behavior closely, and if they display signs of discomfort or distress, such as huddling together or lethargy, it may be a sign that they are too cold. Adjust their outdoor time accordingly and ensure they have access to a warm and secure environment.
Table: Age and Feather Development Guidelines for Chicks Going Outside
| Chick Age | Feather Development | Outdoor Readiness |
|---|---|---|
| 7-14 days | Adult feathers start to develop | Supervised outdoor time for short intervals |
| 5 weeks | Entered “teenage stage” | Ready for longer supervised outdoor excursions |
| 6-8 weeks | Adult feathers fully developed | Ready for permanent outdoor living |
As always, prioritize the safety and well-being of your chicks when deciding to let them go outside. Take into consideration their age, feather development, temperature, and the presence of a secure outdoor space. By following these guidelines and providing appropriate care, you can ensure that your chicks have a positive outdoor experience and grow into healthy adult chickens.
Essential Factors to Consider When Taking Chicks Outside
Before taking chicks outside, there are several essential factors you need to consider to ensure their safety and well-being. These factors include the development of their adult feathers, weather conditions, the availability of a fully enclosed outdoor space, and predator protection.
Adult Feathers
Chicks should have fully developed adult feathers before they are ready to venture outside. Adult feathers provide insulation and protection against the elements, allowing chicks to regulate their body temperature more effectively. It typically takes around 7 to 14 days for chicks to develop their adult feathers.
Weather Conditions
When planning outdoor visits for your chicks, it’s important to consider the weather conditions. Chicks with adult feathers can tolerate temperatures as low as 60°F (15°C), but it’s crucial to ensure they stay dry. Wet feathers can significantly decrease their ability to maintain body heat, putting them at risk of hypothermia.
Fully Enclosed Space and Predator Protection
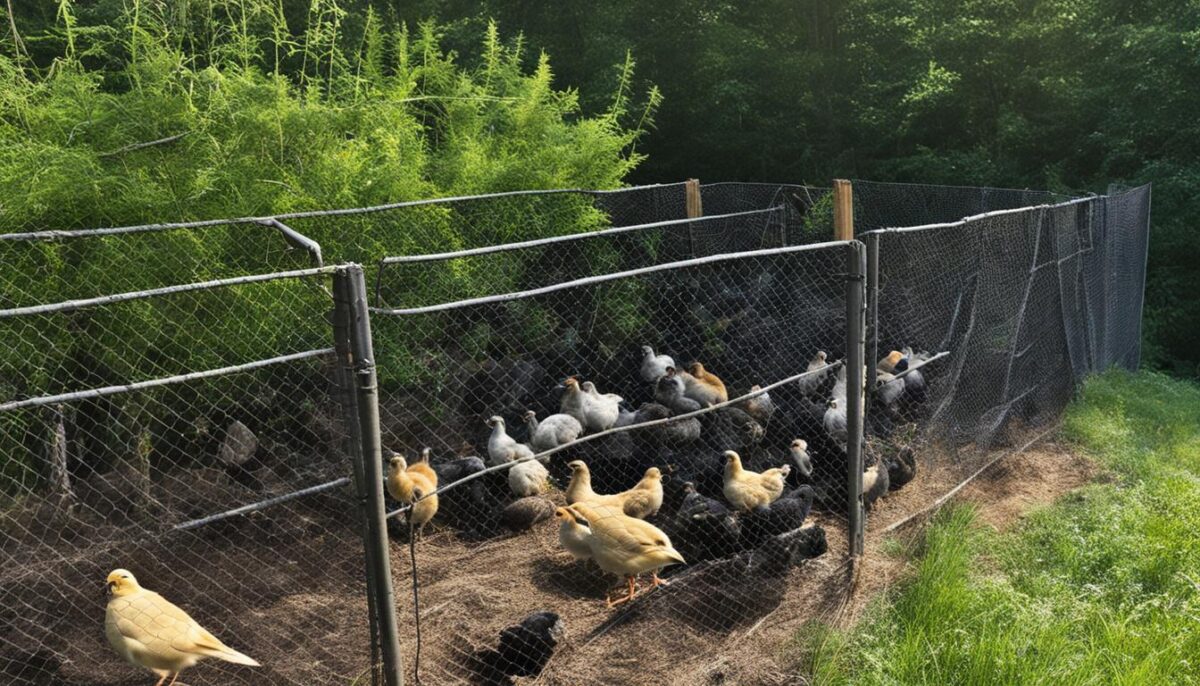
Chicks should have access to a fully enclosed outdoor space to prevent them from wandering too far and to protect them from predators. This space can be a chicken run or a fenced area specifically designed for their safety. Ensure that the outdoor space is securely enclosed at the bottom with hardware cloth to prevent predators from digging under and accessing the chicks.
Temperature and Climate Considerations
Consider the local climate and temperature fluctuations when taking chicks outside. Sudden drops in temperature or extreme weather conditions can be harmful to chicks, especially if they are not yet acclimated. Gradually expose them to outdoor conditions, starting with short supervised visits, and monitor their behavior and response to ensure they are comfortable.
By considering these essential factors before taking your chicks outside, you can create a safe and enriching outdoor environment for them to explore and thrive.
Taking Chicks Outside During the Day
As chicks become comfortable with the gradually decreasing brooder temperature and develop their adult feathers, they can tolerate temperatures as low as 60°F. To introduce them to outdoor time, start with short visits to the chicken pen, preferably on sunny and warm days. Initially, chicks may show hesitation and uncertainty, as the outdoor environment is different from the brooder. Aim for 10-15 minute visits once or twice a day to build their confidence. Stay with the chicks during their first few visits to observe their reactions and ensure their safety.
During these supervised outdoor excursions, it’s important to monitor the chicks’ behavior and assess their tolerance to the temperature. If the chicks appear comfortable and active, it indicates that they are adapting well. However, if they seem lethargic or huddle together, it may be a sign that they are too cold and need to return to the brooder. Gradually increase the duration of the outdoor visits as the chicks grow stronger and more accustomed to the outdoor environment.
Building the chicks’ confidence in the outdoors is crucial for their overall well-being. By providing supervised outdoor time and gradually exposing them to different elements, you are helping them develop resilience and adaptability.
As the chicks gain confidence, you can introduce them to different areas of your backyard or garden. This helps them explore new surroundings and exposes them to a variety of scents and textures, which enriches their sensory experiences. Remember to keep a close eye on them at all times to ensure their safety and protect them from potential predators.
Benefits of Supervised Outdoor Time for Chicks:
- Stimulates natural foraging instincts
- Encourages physical activity and exercise
- Helps chicks develop strength and coordination
- Provides mental stimulation and reduces boredom
- Aids in socialization with other chickens and humans
By gradually introducing chicks to the outdoors and providing supervised outdoor time, you are setting them up for a smooth transition to their permanent outdoor living space. This process helps the chicks build the necessary skills and confidence to thrive in a natural environment while ensuring their safety and well-being.
Table: Guidelines for Supervised Outdoor Time
| Age | Duration of Outdoor Visits | Temperature |
|---|---|---|
| 5-6 weeks | 10-15 minutes, 1-2 times a day | 60°F or higher |
| 7-8 weeks | 20-30 minutes, 1-3 times a day | 60°F or higher |
| 9-10 weeks | 30-45 minutes, 2-3 times a day | 60°F or higher |
Checklist for Permanently Moving Chicks Outside
Before permanently moving chicks outside, there are several factors to consider to ensure their safety and well-being. Here is a checklist to help you make the transition:
- Fully Feathered Chicks: Chicks should have developed all their adult feathers before moving them outside. This ensures that they have adequate insulation to withstand outdoor temperatures.
- Successful Outdoor Trips: Before permanently moving chicks outside, they should have completed several supervised outdoor trips to their future home. This helps them become familiar with the environment and builds their confidence.
- Safe Chicken Coop: Ensure that your chicken coop is secure and provides protection from predators. Check for any openings or weak spots in the coop and make necessary repairs.
- Predator-Resistant Run: Your outdoor run should be fully enclosed and predator-resistant. Use hardware cloth to cover the bottom and sides of the run to prevent predators from digging in.
- Appropriate Feeders and Waterers: Make sure your chicks have access to suitable feeders and waterers. They should be easily accessible and designed to prevent contamination or spillage.
- Optimal Outdoor Temperatures: Chicks can tolerate outdoor temperatures as low as 60°F if they are fully feathered. Check the weather forecast and ensure that the temperatures will be within a safe range for your chicks.
- Age Consideration for Eglu Coop: If you are using an Eglu chicken coop, note that it is recommended for chicks to be at least 12 weeks old before moving into the coop. This allows them to grow to a size suitable for the coop’s design.
Moving chicks outside permanently requires careful planning and consideration. By following this checklist, you can ensure that your chicks are ready for the transition and will thrive in their new outdoor environment.
Can Chicks Be Outside with Other Hens?
Introducing chicks to an existing flock requires careful consideration to ensure a smooth transition. While quarantine periods are not necessary for chicks raised in a brooder, gradual introductions are recommended to minimize the risk of injuries and establish a pecking order. The key is to create a safe and supervised environment for the interaction.
When introducing chicks to the flock, it’s best to place them in a separate chicken pen within or next to the existing flock. This allows the hens to see and get used to each other without direct contact. By doing so, you can monitor their interactions and ensure the chicks’ safety. Observe how the hens react and how the chicks respond to their presence.
“Introducing chicks to an existing flock requires careful consideration to ensure a smooth transition.”
If you notice any aggressive behavior from the hens towards the chicks, it is important to intervene and separate the aggressive hens from the rest. Providing separate housing for aggressive hens allows the chicks to grow bigger and more confident before reintroducing them. This way, you can ensure the safety and well-being of the chicks while allowing the flock dynamics to establish naturally.
Monitoring Interactions
Throughout the introduction process, close monitoring is crucial. Keep a close eye on how the hens and chicks interact with each other. While some pecking and establishing of the pecking order is normal, excessive aggression should be addressed promptly. Be prepared to separate any chicks that are being picked on, as their safety should be a priority.
| Factors to Consider | Potential Actions |
|---|---|
| Watch for signs of aggression from existing flock | Separate aggressive hens if necessary |
| Observe how chicks respond to hens’ presence | Ensure chicks have space to retreat if needed |
| Monitor chicks’ behavior and well-being | Address any signs of stress or injuries |
By closely monitoring the interactions between the chicks and the existing flock, you can ensure that the integration process is carried out safely and smoothly. Remember, the safety and well-being of the chicks should always be the top priority when introducing them to other hens.
Risk of Frostbite
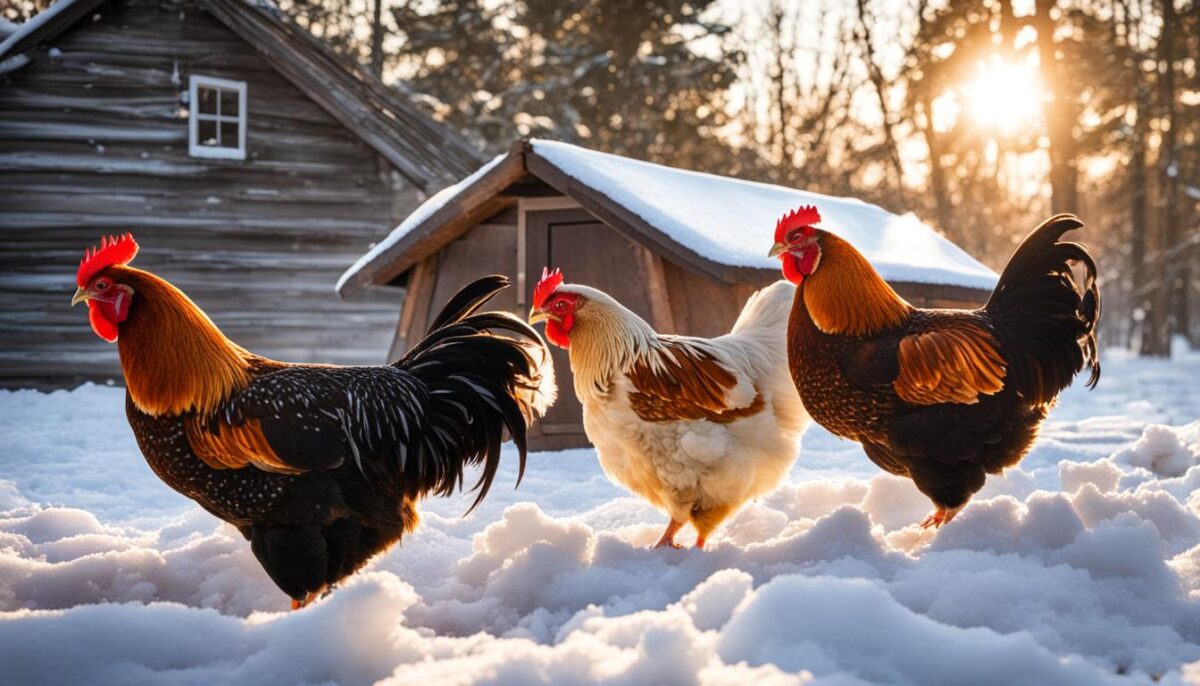
Chicks are vulnerable to frostbite, especially on their combs, wattles, and toes. It’s important to monitor them closely and take necessary precautions to prevent frostbite. Providing adequate shelter, insulating the coop, and keeping the coop dry can help minimize the risk. If necessary, consider using petroleum jelly on vulnerable areas to provide additional protection.
Temperature Acclimation
Chicks need time to acclimate to colder temperatures. Gradually expose them to the outdoor environment, starting with short trips and gradually increasing the duration over time. This will allow them to develop their tolerance to lower temperatures and adjust their body temperature accordingly.
Protecting Against Predators
In winter, predators may be more desperate for food and more willing to take risks to find their next meal. Make sure your coop and run are well-secured to prevent access by predators such as raccoons, snakes, and owls. Use sturdy fencing, bury wire mesh to prevent digging, and consider adding additional deterrents such as motion-activated lights or noise devices.
| Chick Protection Checklist |
|---|
| Choose cold-hardy breeds with small combs |
| Gradually acclimate chicks to outdoor temperatures |
| Provide a secure and well-insulated coop |
| Protect against predators with sturdy fencing and deterrents |
Are My Chicks Too Cold?
Monitoring the temperature of your chicks is crucial to ensure their well-being and comfort. Signs of cold in chicks include lethargy and huddling together. If you observe these behaviors, it may indicate that your chicks are too cold and require immediate attention. Gradual acclimation to outdoor conditions can help prepare them for the colder weather.
Precautions against cold weather should be taken to protect your chicks. Providing additional insulation for the coop and ensuring that it is secure and free from drafts can help maintain a comfortable temperature. Placing a heat source, such as a heat lamp or a heating pad, in a designated area of the coop can also provide warmth for the chicks.
It’s essential to address any illnesses or health issues promptly. Chicks are susceptible to illnesses like coccidiosis and respiratory infections, which can be exacerbated by cold temperatures. If you notice any signs of illness in your chicks, such as coughing, sneezing, or diarrhea, consult a veterinarian who specializes in poultry care for proper diagnosis and treatment.
“Regularly monitor the behavior and body temperature of your chicks to ensure they are not too cold.”
| Signs of Cold in Chicks | Precautions Against Cold Weather | Treating Illnesses |
|---|---|---|
|
|
|
By closely monitoring the temperature and behavior of your chicks, taking precautions against cold weather, and promptly addressing any illnesses, you can ensure the well-being and comfort of your chicks during winter.
Buying Chicks and Setting Up a Brooder
Before embarking on your journey of raising chicks in winter, it’s essential to choose the right chicken breeds for your climate. Opt for cold-hardy breeds that can withstand colder temperatures and have smaller combs to reduce the risk of frostbite. Popular cold-hardy breeds include Rhode Island Reds, Plymouth Rocks, and Wyandottes.
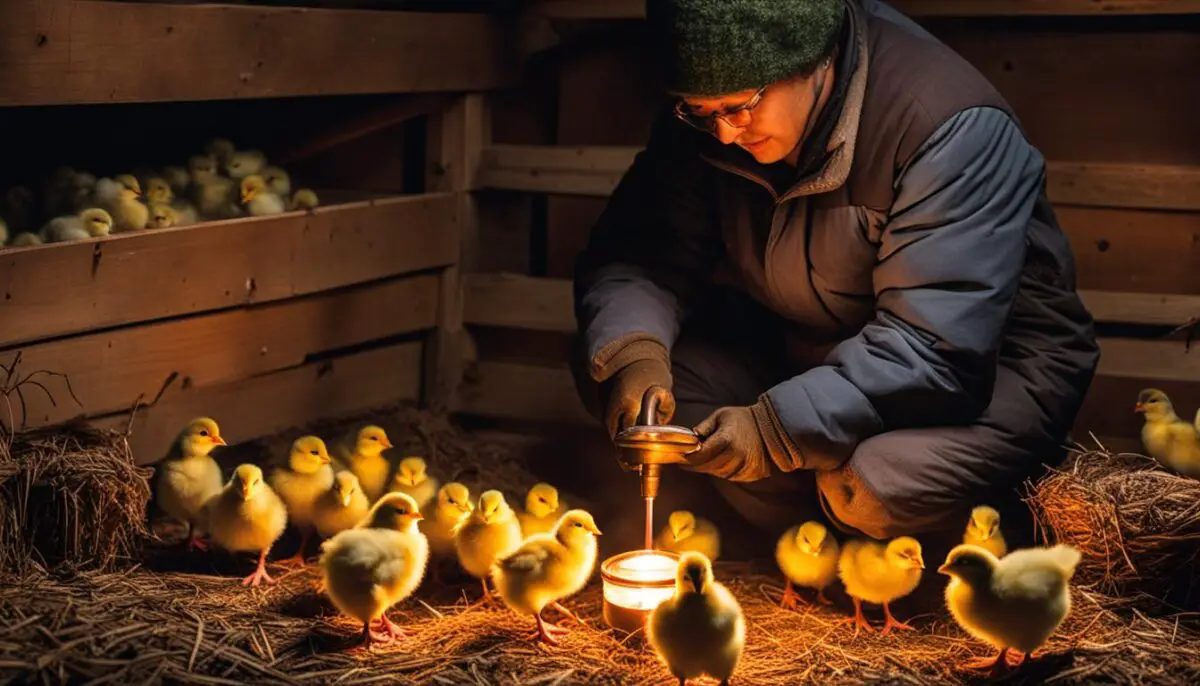
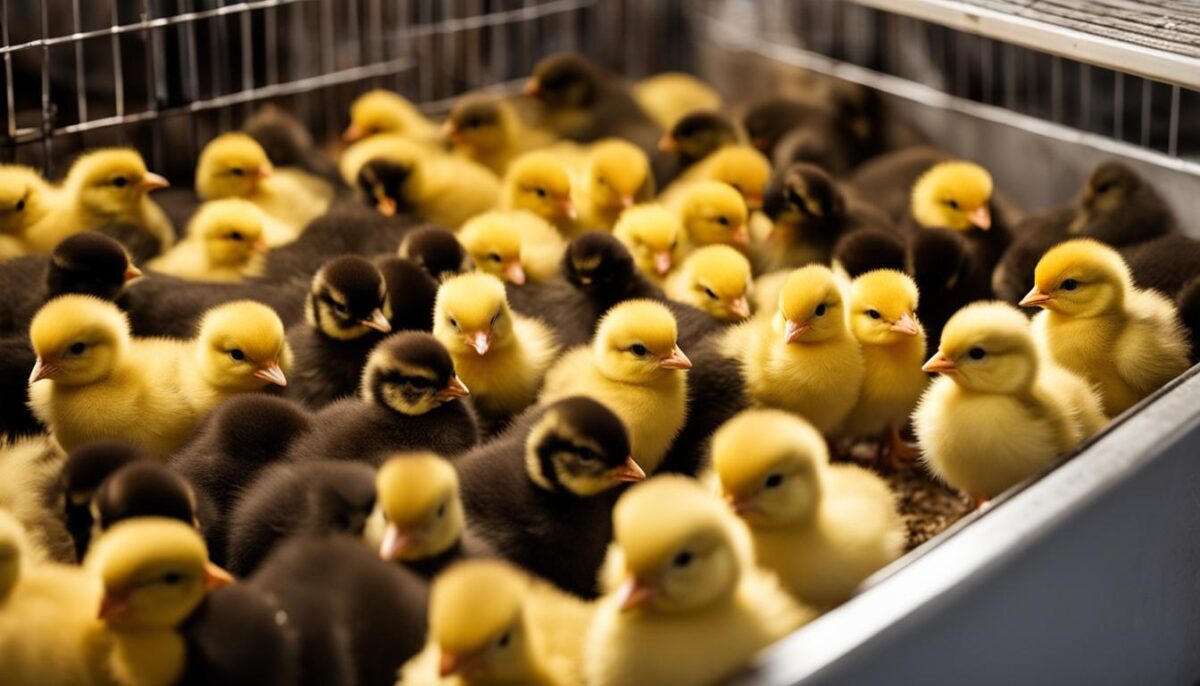
Once you’ve selected your chicks, the next step is to set up a brooder, a safe and warm environment for them to grow and develop. You can use a box, plastic tote, or other suitable container as the brooder. Line the bottom with bedding such as pine chips or straw to provide a comfortable and absorbent surface for the chicks.
To ensure the chicks’ safety and prevent escape, cover the brooder with screen or chicken wire. This will allow proper airflow while preventing any potential predators from getting access to the chicks. It’s important to create a secure and enclosed space for their well-being.
Proper temperature control is vital for the health and growth of the chicks. Use a heat source, such as a red infrared bulb, to provide warmth in the brooder. Monitor the temperature with a thermometer and adjust the heat source accordingly to maintain the ideal temperature range for the chicks, which is around 90-95°F for the first week, decreasing by 5°F each week until they are fully feathered.
Brooder Setup Checklist:
- Choose cold-hardy chicken breeds
- Select a suitable container for the brooder
- Line the brooder with bedding
- Cover the brooder with screen or chicken wire
- Provide a heat source and monitor temperature
| Chick Breeds | Temperature Range (°F) | Bedding Material |
|---|---|---|
| Rhode Island Reds | 90-95°F (first week) | Pine chips |
| Plymouth Rocks | 85-90°F (second week) | Straw |
| Wyandottes | 80-85°F (third week) | Pine chips |
Conclusion
Raising chicks in winter requires careful consideration of various factors to ensure their well-being. By following best practices and implementing winter chicken coop tips, you can create a safe and comfortable environment for your baby chicks.
When can chicks go outside in winter? The timing depends on their age, feather development, and temperature tolerance. It is crucial to wait until they have developed their adult feathers, typically around 7 to 14 days old. Gradually decrease the brooder temperature to match the outdoor conditions, and consider their ability to handle temperatures as low as 60°F.
Introducing chicks to winter weather should be done gradually. Start with short supervised outdoor visits on sunny and warm days, and aim for 10-15 minute visits once or twice a day to build their confidence. As they grow, consider permanently moving them outside only when they are fully feathered, around 6-8 weeks old, and have successfully completed outdoor trips to their future home.
Throughout the process, prioritize chick safety during winter. Provide a fully enclosed outdoor space and ensure predator protection. Monitor their behavior, address any illness promptly, and maintain clean bedding, food, and water access. By winterizing the chicken coop and implementing appropriate care, you can successfully raise healthy baby chicks during the colder months.
FAQ
When can chicks go outside in winter?
Chicks can start going outside once they have developed their adult feathers, typically around 7 to 14 days old.
What factors should I consider when taking chicks outside?
Before taking chicks outside, consider whether they have all of their adult feathers, if the weather is above 60°F, and whether they will have access to a fully enclosed space.
How can I introduce chicks to outdoor time during the day?
Start with short visits to the chicken pen, preferably on sunny and warm days. Aim for 10-15 minute visits once or twice a day to build their confidence.
What should I consider before permanently moving chicks outside?
Before permanently moving chicks outside, ensure that they are fully feathered and have successfully completed outdoor trips to their future home. Check if you have a safe chicken coop, predator-resistant chicken run, appropriate feeders and waterers, outdoor temperatures of 60°F or higher, and chicks that are at least 6-8 weeks old.
Can chicks be outside with other hens?
When introducing chicks to an existing flock, follow similar steps as introducing new chickens. Gradual introductions are recommended to minimize the risk of injuries. Monitor the initial encounters and remove any chicks that are being picked on.
What are the winter considerations for letting chicks outside?
In cold climates, choose cold-hardy breeds with small combs to reduce the risk of frostbite. Chicks can start going outside for short trips around 3-4 weeks old to acclimate to the elements. Provide a fully enclosed outdoor playpen and additional predator protection. Add extra insulation to the coop in extremely cold climates.
How can I tell if my chicks are too cold?
Monitor the chicks’ behavior and body temperature. Signs of cold include lethargy and huddling together. Gradually acclimate the chicks to outdoor conditions and provide additional insulation and protection for the coop in extremely cold weather.
What should I consider when buying chicks and setting up a brooder?
Consider the climate and choose cold-hardy breeds suitable for your area. Set up a brooder using an appropriate container and provide bedding, heat source, and thermometer. Ensure the brooder is secure and that the chicks have enough space to move and explore.


