Building a DIY rabbit hutch is a fun and fulfilling project that can provide a safe and cozy shelter for your pet rabbits. Whether you’re a seasoned DIY enthusiast or just starting out, this guide will walk you through the process step by step, making it easy for you to build a rabbit hutch that meets your rabbits’ needs.
When it comes to constructing a rabbit hutch, there are a few key elements to consider. From choosing the right design and materials to gathering the necessary supplies, we’ll cover everything you need to know to build a sturdy and comfortable home for your furry friends.
Throughout this guide, you’ll find expert tips and practical advice to help you along the way. So let’s get started on this rewarding DIY project!
Key Takeaways:
- Building a DIY rabbit hutch can provide a safe and cozy shelter for your pet rabbits.
- Choose the right design and materials that best suit your rabbits’ needs.
- Gather all the necessary supplies before starting the construction process.
- Follow the step-by-step instructions to build a sturdy and secure rabbit hutch.
- Enjoy the satisfaction of providing your rabbits with a comfortable home.
Choosing the Design and Materials
Before starting your DIY project, it’s important to choose the design and materials that will best fit your needs. Consider the number of rabbits you will be housing and the available space in your outdoor area. Look for sturdy, untreated wood for the frame and supports, and plywood for the floor and roof. Additionally, select the appropriate wire mesh for the sides and door of the hutch. Taking the time to carefully choose the design and materials will ensure a durable and functional rabbit hutch.
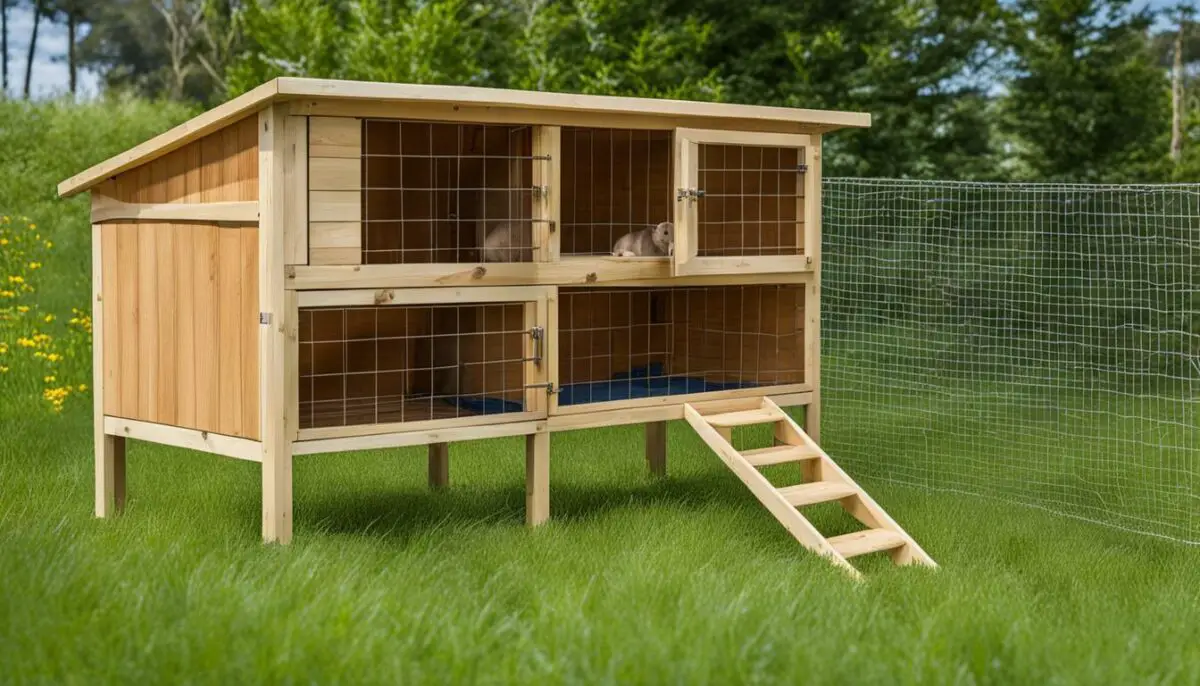
When it comes to rabbit hutch design, there are several options to consider. You can opt for a single-level hutch or a multi-level hutch to maximize space. Some designs feature a separate sleeping area and a larger play area, providing rabbits with different zones to relax and exercise. Additionally, you can choose between a hutch with an enclosed wire mesh or one with a combination of wire mesh and solid walls for added protection from the elements.
For rabbit hutch ideas, you can get creative with the design. Incorporate ramps, tunnels, and platforms to create an enriching environment for your rabbits. Adding shelves and hooks for hanging toys and water bottles can also be beneficial. Consider the aesthetic aspect as well, as a well-designed hutch can enhance the overall look of your outdoor area.
Inspiration Quote: “The key to a successful rabbit hutch is finding the right balance between functionality and aesthetics.” – Experienced Rabbit Owner
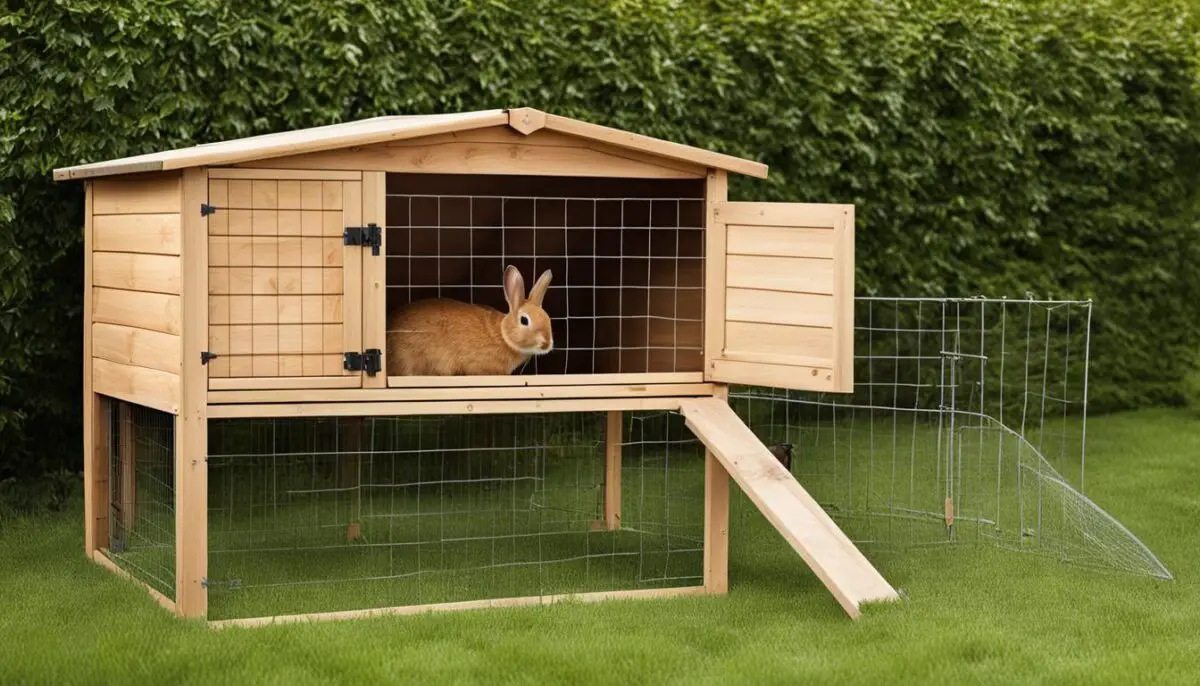
When it comes to materials, always choose high-quality and non-toxic options. Sturdy, untreated wood is essential for the frame and supports as it provides stability and longevity. Plywood is suitable for the floor and roof, as it is durable and easy to work with. Make sure to select a wire mesh that is strong enough to withstand chewing and predators.
Pros and Cons of Different Rabbit Hutch Designs
| Design | Pros | Cons |
|---|---|---|
| Single-level hutch | – Easy access for cleaning and interaction – Provides ample space for one or two rabbits |
– May require additional flooring to prevent digging – Limited vertical space |
| Multi-level hutch | – Maximizes space with multiple levels – Ideal for multiple rabbits |
– More challenging to clean – May require ramps for rabbits to move between levels |
| Enclosed wire mesh | – Provides excellent ventilation – Offers unobstructed view of rabbits – Allows for better interaction |
– Less protection from extreme weather conditions – Potential for drafts |
| Combination of wire mesh and solid walls | – Offers protection from wind, rain, and sun – Provides privacy for rabbits |
– Restricted view of rabbits – More challenging to clean |
Consider the pros and cons of each design when choosing the best option for your rabbits. Remember to prioritize their safety, comfort, and overall well-being.
Gathering the Supplies
Once you have chosen the design and materials for your DIY rabbit hutch, it’s time to gather all the necessary supplies. Having everything you need on hand before you start the construction process will make it smoother and more efficient. Here’s a list of supplies to help you get started:
| Supplies | Description |
|---|---|
| Wood pieces | Select sturdy, untreated wood for the frame and supports of the rabbit hutch. |
| Wire mesh | Choose an appropriate wire mesh for the sides and door of the hutch to ensure the safety of your rabbits. |
| Screws | Use screws to attach the wood pieces together securely. |
| Hinges | Install hinges to allow easy access to the rabbit hutch. |
| Sliding bolt lock mechanism | Add a sliding bolt lock mechanism to ensure the door stays securely closed. |
| Shingles | Consider purchasing shingles to provide extra protection from the elements for the roof of the hutch. |
Having all the necessary supplies at hand will save you time and ensure a successful construction process for your outdoor or indoor rabbit hutch.
Building the Frame
Now that you have chosen the design and materials for your rabbit hutch, it’s time to start building the frame. The frame is the foundation of your hutch, providing the structure and stability that is crucial for the overall construction. Follow these steps to create a solid frame for your rabbit hutch:
- Cut and measure the wood pieces: Using the measurements from your chosen design, carefully cut the wood pieces to the appropriate sizes. Take your time to ensure accuracy, as the dimensions of the frame will determine the final shape and size of the hutch.
- Attach the wood pieces: Position the wood pieces according to the design of your hutch, forming a rectangular shape. Use wood screws to securely attach the pieces together. Make sure to align the corners and edges properly for a neat and precise fit.
- Create a sturdy and level frame: Check the stability of the frame by gently shaking it. If there is any wobbling or instability, reinforce the joints and connections with additional screws. Use a level to ensure that the frame is perfectly straight and level, making adjustments as needed.
Remember, a strong and level frame is essential for the stability and durability of your rabbit hutch. Take your time during this step to ensure a solid foundation for the rest of the construction process.
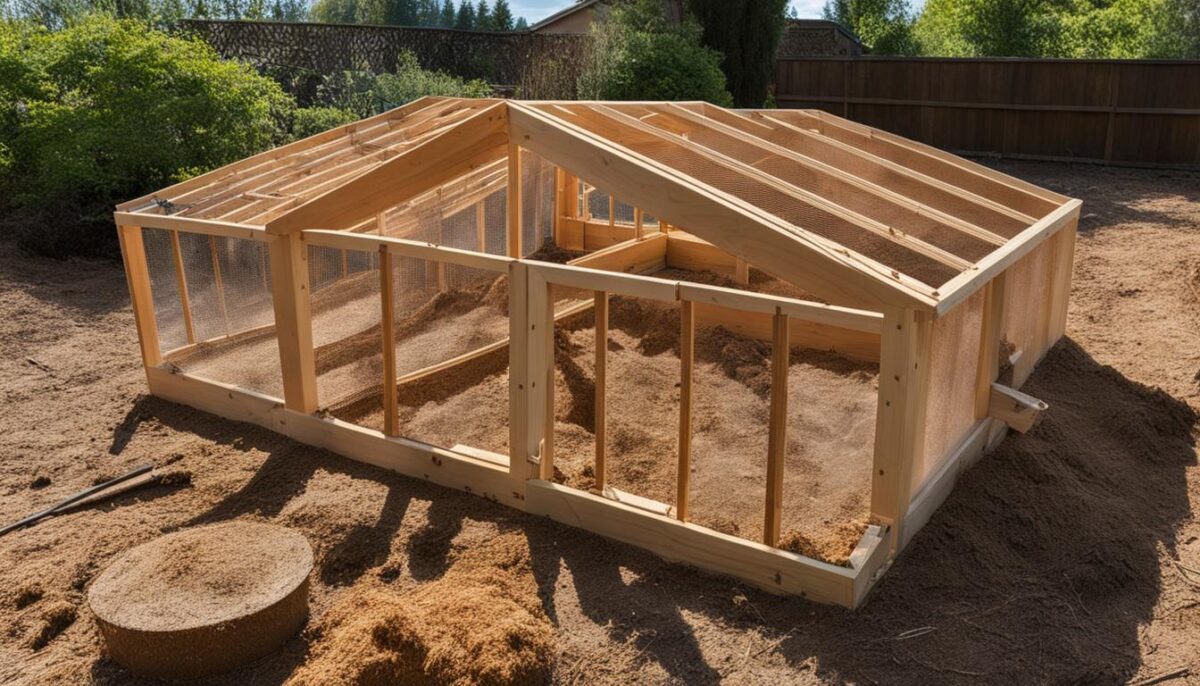
“The frame is like the skeleton of the rabbit hutch – it provides the necessary support and structure for the entire construction.”
Adding the Wire Mesh
With the frame complete, it’s time to secure the wire mesh to the sides and door of the rabbit hutch. This step ensures the safety of your rabbits by preventing them from escaping and keeping predators at bay.
Using an industrial staple gun, carefully attach the wire mesh to the frame, making sure it is tightly secured and there are no gaps. The mesh should be strong and durable to withstand any attempts at escape or intrusion. Double-check the security of the wire mesh to provide ultimate protection and peace of mind.
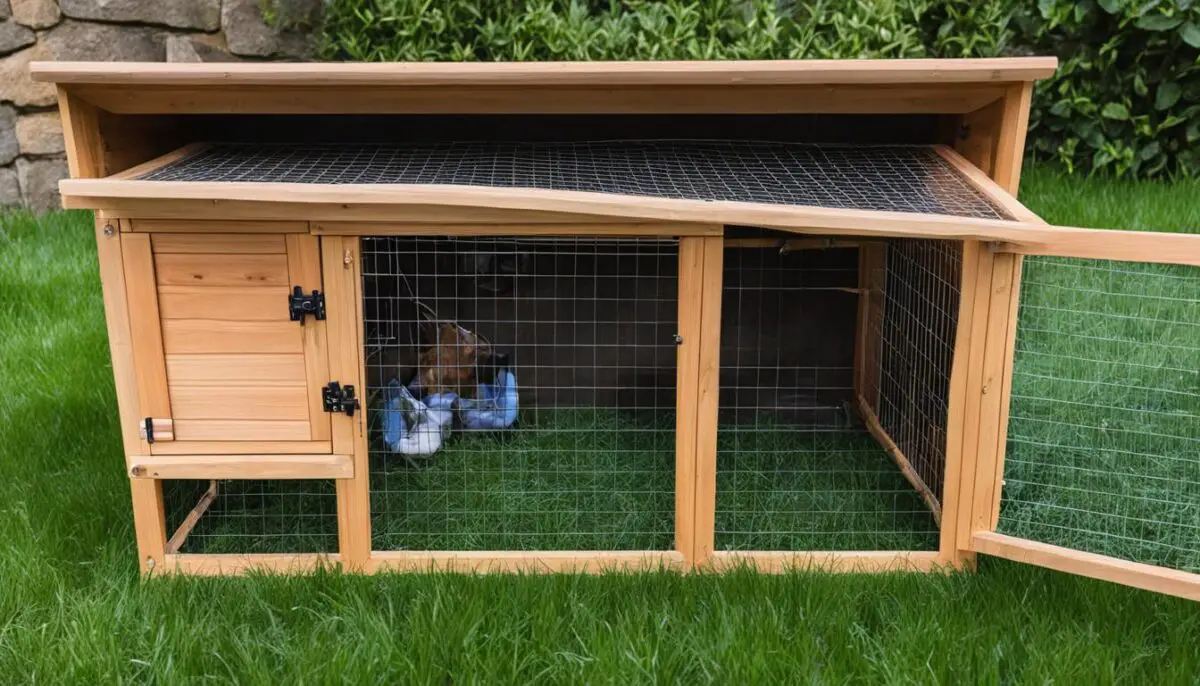
“The wire mesh is crucial in creating a secure environment for your rabbits. It not only keeps them inside the hutch but also acts as a barrier against predators. Ensure that the mesh is tightly secured to prevent any unwanted surprises.”
The wire mesh should be selected carefully to match the size of the gaps you desire, allowing proper airflow while keeping your rabbits safe. A mesh with smaller gaps will prevent the rabbits from sticking their heads out and reduce the risk of predators gaining access to the hutch.
By installing the wire mesh correctly, you are creating a comfortable and protected space for your rabbits to enjoy the outdoors while ensuring their safety.
Installing the Roof and Flooring
Now that the frame of your rabbit hutch is complete, it’s time to provide additional protection and comfort for your furry friends by installing the roof and flooring. This step is crucial in creating a safe and cozy shelter for your rabbits.
For the roof, it is recommended to use plywood as it offers durability and weather resistance. Cut the plywood to the appropriate size, ensuring that it covers the entire top of the hutch. Securely attach the plywood to the frame using screws or nails, making sure it is tightly fitted to prevent any leaks or drafts.
Tip: If you want to enhance the weatherproofing of the roof, consider adding shingles. Shingles provide an extra layer of protection against rain, snow, and wind, ensuring the interior of the hutch remains dry and comfortable.
The flooring of the rabbit hutch should be solid and smooth to protect your rabbits’ feet. Like the roof, plywood is an excellent choice for the flooring. Cut the plywood to fit the dimensions of the hutch’s base and securely attach it to the frame. Ensure that there are no gaps or uneven surfaces that could cause discomfort for your furry companions.
By installing a sturdy roof and solid flooring, you are providing your rabbits with a secure and comfortable living space while protecting them from the outdoor elements.
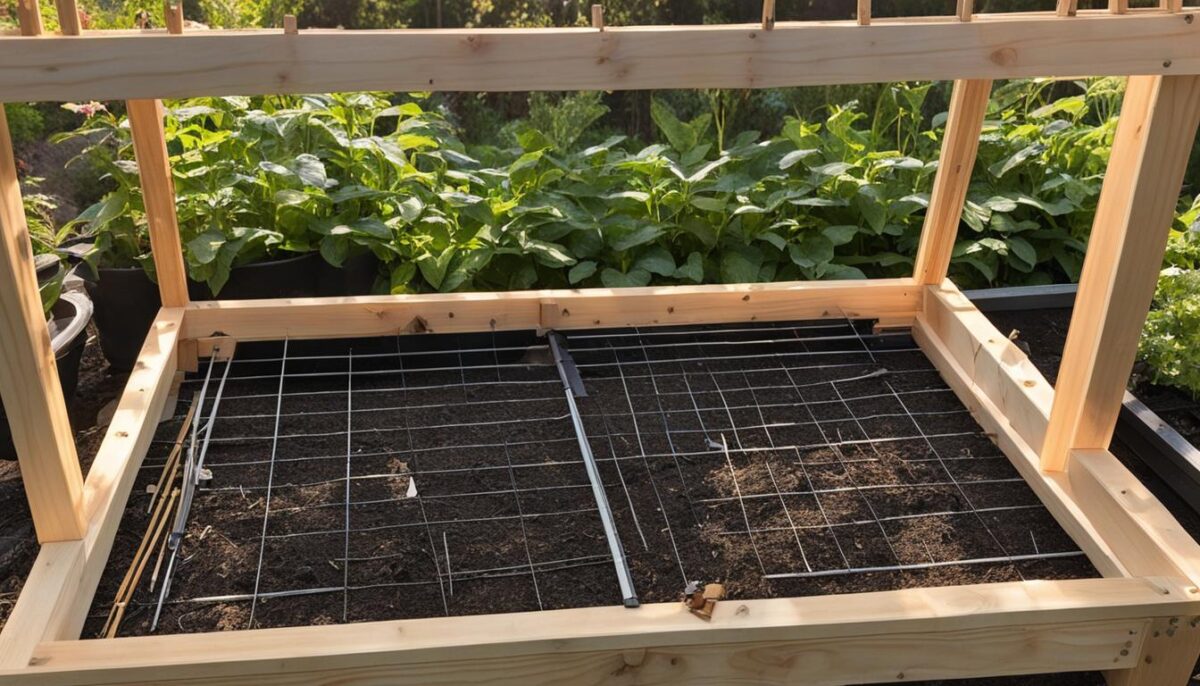
Recommended Materials for the Roof and Flooring
| Material | Advantages |
|---|---|
| Plywood | Durable, weather-resistant, and provides a solid surface |
| Shingles (optional) | Enhances weatherproofing and protects against rain, snow, and wind |
Building the Door and Final Touches
Once you have completed building the frame and adding the wire mesh, it’s time to focus on constructing the door of your rabbit hutch. The door provides easy access to the interior and ensures the security of your furry friends. You have the option to use either wood or wire for the door, depending on your preference and the design of your hutch.
To begin, measure and cut the pieces of wood or wire according to the dimensions required for your hutch. Attach hinges to one side of the door, ensuring they are securely fastened. The hinges will allow the door to swing open and closed smoothly. Next, mount a sliding bolt lock mechanism on the opposite side of the door to ensure that it stays closed and prevents any potential escape attempts. Test the door to make sure it fits securely into the frame and operates without any issues.
Now that the door is complete, you can add some final touches to enhance the functionality and aesthetics of your rabbit hutch. Consider attaching additional planks onto the hutch’s sides to provide extra protection against wind and rain. These planks can also act as insulation during colder weather, keeping your rabbits warm and comfortable. If you have multiple rabbits living in the hutch, you may want to include a divider to separate them and create individual living spaces.
Remember to pay attention to the details when completing the door and final touches of your rabbit hutch. A well-constructed door and thoughtful additions can make a significant difference in the overall usability and visual appeal of your DIY creation.
Conclusion
Building a DIY rabbit hutch can be a rewarding and cost-effective project. With our step-by-step guide, you can confidently create a comfortable and secure home for your beloved pet rabbits.
Start by carefully selecting the appropriate design and materials that suit your requirements. Consider the number of rabbits, available space, and the durability of the materials.
Once you have gathered all the necessary supplies, follow the construction process meticulously. Assemble the sturdy frame, securely attach the wire mesh, and install the roof and flooring for added protection and comfort. Don’t forget the little details, such as a well-fitted door with a sliding bolt lock mechanism for easy access and security.
By investing a little time and effort into building your DIY rabbit hutch, you can rest assured that your furry friends have a cozy and safe shelter. Say goodbye to bland commercial rabbit hutches and create a customized home where your rabbits can thrive.
FAQ
What materials should I use to build a rabbit hutch?
For the frame and supports, use sturdy untreated wood. Plywood is ideal for the floor and roof. Choose wire mesh for the sides and door of the hutch.
How do I choose the right design and materials for my rabbit hutch?
Consider the number of rabbits and the available space in your outdoor area. Look for durable, untreated wood and appropriate wire mesh. Taking these factors into account will ensure a functional and long-lasting rabbit hutch.
What supplies do I need to build a rabbit hutch?
You will need wood pieces, wire mesh, screws, hinges, a sliding bolt lock mechanism, and possibly shingles for the roof. Having all the supplies ready before starting the project will make the construction process smoother.
How do I build the frame of the rabbit hutch?
Cut and measure the wood pieces according to your chosen design. Use wood screws to attach them together, creating a sturdy rectangular shape.
How do I secure the wire mesh to the rabbit hutch?
Use an industrial staple gun to tightly secure the wire mesh to the frame, making sure there are no gaps. This will prevent rabbits from escaping and predators from entering.
What should I use for the roof and flooring of the rabbit hutch?
Plywood is suitable for both the roof and floor. Cut them to size and securely attach them to the frame. Consider adding shingles to the roof for extra weatherproofing.
How do I build the door of the rabbit hutch?
Use wood or wire to construct the door. Attach hinges and a sliding bolt lock mechanism for easy access and security. Ensure the door fits securely into the frame and operates smoothly.
Are there any final touches I should add to the rabbit hutch?
Consider adding additional planks for wind and rain protection or a divider for separating rabbits. Pay attention to detail to create a functional and visually appealing rabbit hutch.
Is building a DIY rabbit hutch cost-effective?
Yes, building your own rabbit hutch can be a rewarding and cost-effective project. With the right plans and materials, you can create a comfortable and secure home for your pet rabbits.


